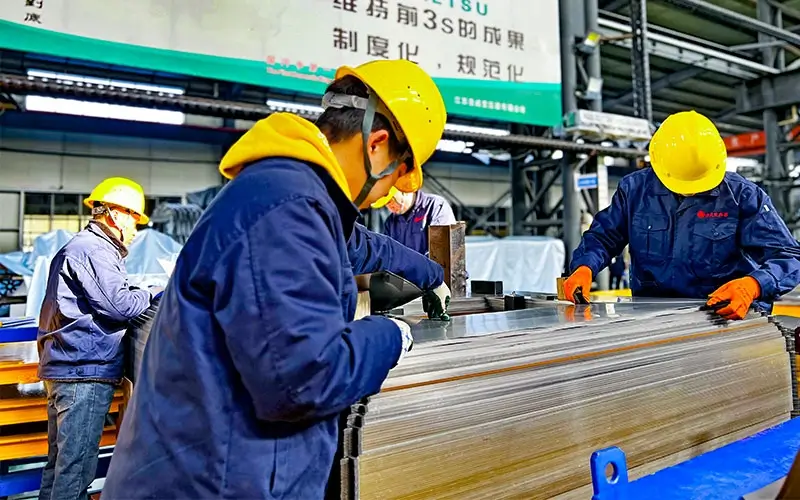
10kV oil-immersed transformer multilayer cylindrical coil winding process requirements
1. Pull the wire out of the reel and adjust the tightening device. Be careful not to adjust the traction force to cause obvious stretching and breaking between the wires.
2. Wind the wire according to the drawing, use the bending tool to bend it into 90°, and make the length of the head reach the size specified in the drawing. The thickness of the insulation wrapped with the head must meet the technical requirements. First, wrap several layers of 0.05mm crepe paper, and then wrap it with cloth tape to the specified thickness.
3. Before winding, wrap a layer of dot-top adhesive tape on the insulation tube. The seams are not glued, and tied with cloth tape so that it does not affect the radial size of the coil.
4. Bend the end insulation end of the cardboard and telephone paper into an arc shape. When starting to wind, press the telephone paper of the end insulation with the wire before winding. When winding to the last few turns, put the end insulation first, and use the same method as the starting end to press the telephone paper with the wire. Note that the thickness of the end insulation each time must meet the requirements of the drawing.
5. When winding the conductor to the rising layer, place interlayer insulation (composed of 0.08mm dot adhesive tape), the number of layers is specified in the drawing, and the width is slightly larger than the axial size of the coil but not more than the end insulation. The adhesive tapes on the dots of each layer of interlayer insulation should be staggered, and the ends should be staggered by 5~15mm. Each piece of insulation paper should overlap by no less than 10mm.
6. When winding to the oil gap support bar (or corrugated cardboard) between the layers, place it according to the size specified in the drawing, and wrap a layer of insulation paper around it, and tighten it with a temporary cloth tape in the middle. When the wire is wound near it, remove the temporary tightening cloth tape. At the beginning of the rising layer, it is necessary to add a straight cloth tape about 50~100mm long. The adjacent rising positions of the conductor should be staggered by one grid to avoid increasing the radial size of the place. If 7. causes a reduction in the total number of turns, it can be compensated before the tapping.
8. During the winding process, the wire should be tightened, and each layer of wire turns should be fully wound and close together. The entire coil should be firm, tight and neat.
9. When the coil is wound to the outermost layer with a branch line, the branch line is led out from the axial direction by looping the original wire in the radial direction, and the length exceeds the top of the coil by 200-300mm. A 0.5mm paper groove is padded on the inner side of the coil at the loop. At 50mm on both sides of the root, the root is wrapped firmly with a half-folded layer of cloth tape. After winding 3-4 turns, turn the cloth tape over and cut off the remaining ends. The position of the branch line meets the requirements of the drawing, and the deviation does not exceed ±5%.
10. The end of the coil is led out axially by looping the original wire, and its fixing method is the same as the branch line fixing method. Use a shrink tape as the insulation wrapping of the coil.
11. After the coil is wound, a shrink tape is half-folded on the outer surface of the coil, and the end can be slightly more than 1-2 layers.
12. Remove the coil and place it on the coil storage table.


